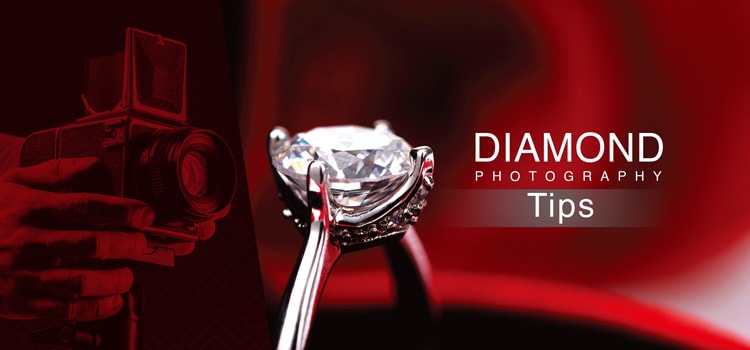
The Two-Card Studio: Photograph a Diamond Ring Without Inventing Its Sparkle
A diamond ring can be a surprisingly difficult portrait subject. It refuses to sit neatly, reflects your camera, and sometimes turns into a white blob just when the gold band looks perfect. The usual response is more light, more sharpening, and more patience. Often, the better response is a piece of black card.
This small studio exercise uses two ordinary cards to make a ring easier to photograph. One opens up the reflections; the other gives them shape. The goal is a photograph that feels elegant while still showing the actual object, whether you are documenting a favourite ring or preparing an honest sale listing.
Build a tiny stage before touching the settings
Choose a stable table away from sinks and busy edges. Put a shallow tray underneath your working area so a loose ring cannot disappear across the floor. Use a plain, matte background and a discreet support that keeps the jewellery steady without covering important details.
A window with indirect daylight makes a useful starting point. Turn off nearby lamps if their colour clashes with the daylight. Alternatively, use one continuous light behind a suitable diffuser. Keep paper and fabric away from hot bulbs. A larger apparent light source generally produces broader, softer reflections than a tiny bare lamp.
Clean the ring only by a method suitable for its stones and setting. If you are unsure about treatments, loose stones, or delicate components, ask a jeweller first. For photography, removing obvious fingerprints safely matters more than experimenting with an aggressive cleaning recipe.
Let the white card do the polite work
Stand a piece of white card opposite the window, just outside the frame. It bounces some light towards the darker side of the ring. Move it closer, then farther away, watching the metal rather than the background. You are arranging a reflection, not simply increasing general brightness.
The band may suddenly acquire a smooth bright stripe. A prong that looked muddy might become readable. If everything becomes pale and flat, move the card back. Jewellery needs contrast to describe its shape. A perfectly even wash of white can remove the very edges you wanted to reveal.
Give the black card a small speaking part
Now introduce a narrow strip of matte black card beside the camera or near the ring, outside the composition. Watch for a darker line appearing in the polished metal. This is not a defect in the ring. It is a controlled reflection that helps separate one surface from another.
Move the strip in tiny increments. An oversized black reflection can overwhelm a small subject, while a restrained one makes a curved band look rounded rather than cut from white paper. The interesting moment often arrives between two positions you would normally consider almost identical.
Keep a simple record of the setup. Photograph the whole table with your phone after finding a useful arrangement. That unglamorous reference image can save more time next week than another elaborate preset.
Choose the viewpoint before chasing sharpness
A low angle can make a setting look architectural, but it can also hide the centre stone. A straight overhead view explains the outline but may flatten the band. Begin with a gentle three-quarter angle, then decide what the picture needs to communicate.
For an online listing, make several views rather than asking one photograph to explain everything. Show the face, the profile, the underside, and any identifying marks you can photograph clearly. A dramatic image and a practical reference image have different jobs. Give each enough room to do its work.
Use a tripod or another secure support when available. Set a timer or remote release to avoid nudging the camera. If you are working with a phone, resist moving closer than its camera can focus reliably. A slightly wider, sharp photograph usually beats a blurred frame that fills the screen.
Accept that close focus has a narrow comfort zone
At close distances, the area that appears sharp can become very shallow. The front prong may be crisp while the back of the stone dissolves. That is a focusing problem to manage, not evidence that your camera needs replacing.
For a clear introduction to working distance, stability, and the thin plane of focus, see Nikon’s guide to macro photography. Apply the principles to your equipment rather than copying somebody else’s settings blindly.
Try modest aperture changes and inspect the results. Very small apertures can increase depth of field but introduce diffraction softness. There is no universal number that makes every ring perfectly sharp. Camera format, magnification, lens behaviour, and the angle of the jewellery all influence the result.
Stack focus carefully, not automatically
When one exposure cannot provide enough detail, photograph a sequence with small, overlapping changes in focus. Keep the ring, camera, exposure, and lighting consistent. Then combine the sharp areas using suitable software. This works best when nothing shifts between frames.
Adobe explains the relevant blending workflow in its guide to creating composite images with extended depth of field. Treat the combined image as a starting point: inspect prongs, facet edges, and reflections for halos or mismatched patches before exporting.
A stacked photograph is a composite, not a single instant of focus. For documentary or sales use, keep the originals and be transparent about substantial processing. Extra apparent sharpness should explain the ring, not invent details that were never there.
Make one ordinary frame
Before packing up, take a straightforward photograph without the carefully arranged cards. Keep it as a companion to the polished version. This gives you a useful reminder of how strongly the surroundings shaped your studio result. It also helps prevent the mistake of judging a gemstone from one particularly dramatic picture. If the image is for a buyer, describe the lighting plainly and include that simpler view when helpful. You are offering visual information, not a laboratory assessment. Photography can reveal texture, workmanship, and character beautifully; it cannot independently establish a diamond’s origin, treatment history, or quality grades.
Edit the photograph without redesigning the jewellery
Adjust white balance, exposure, and cropping with restraint. Remove dust from the background if necessary, but do not erase identifying inclusions, scratches, or wear from a sale image. Keep meaningful characteristics visible. A flattering photograph should not become an alternative version of the product.
Finish by looking at the image at its intended display size. If it still communicates the stone, setting, and condition clearly, the two cards have earned their place. Pack the ring away safely before dismantling the studio. The most successful session ends with a useful, accurate, engaging picture and every small precious thing accounted for.…